|
|
Our thanks to Fred Grimminck in Australia and Mike Vermeersch in Ohio USA for supplying these build photos of their projects. Fred is building from scratch and Mike is building from a kit that we supplied. Click for info on the kits
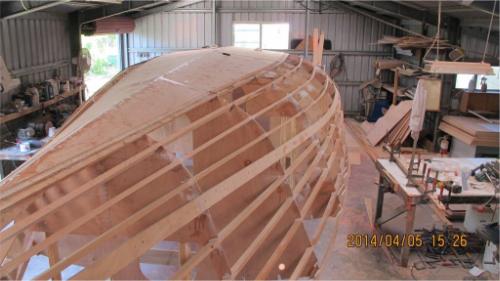
Bottom panels installed. The tangent edges of the panels are rebated to half depth for the junction with the radiused skin. The first layer of skin butts against the edge of the panel and the second layer laps onto the rebate, finishing flush.
|
|
|
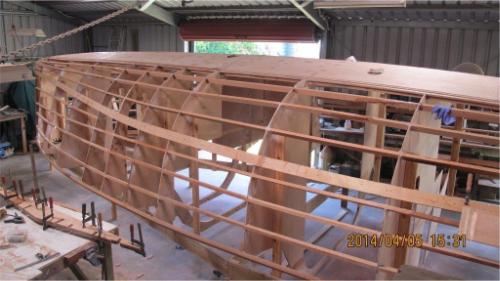
Same stage, side view. In the bottom right corner of the photo the end of a lower side panel can be seen, clamped in place.
|
|
|
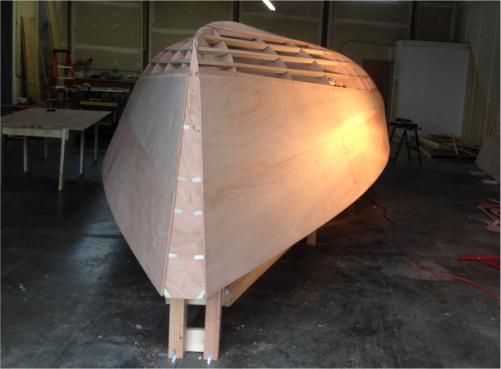
Side panels fitted. The joint between the upper and lower side panels on each side are flush at the bow but develop into the chine further aft.
|
|
|
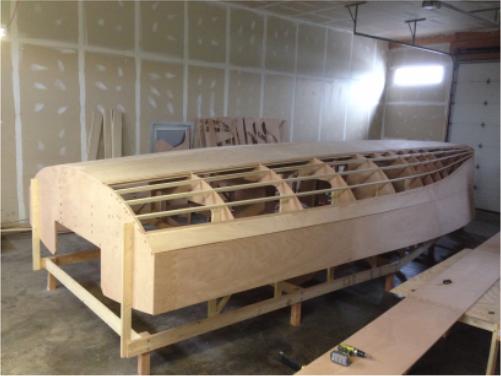
Side panels completed. The chine can be seen in this view, disappearing in the forward sections.
|
|
|
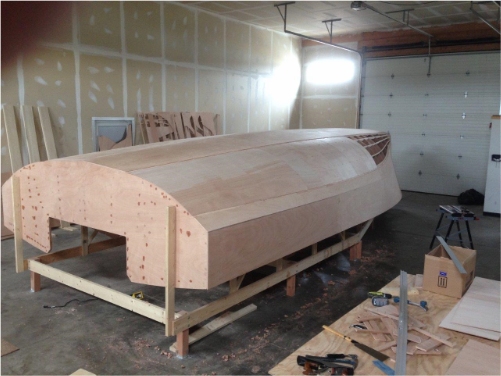
First layer of radius being fitted.
|
|
|
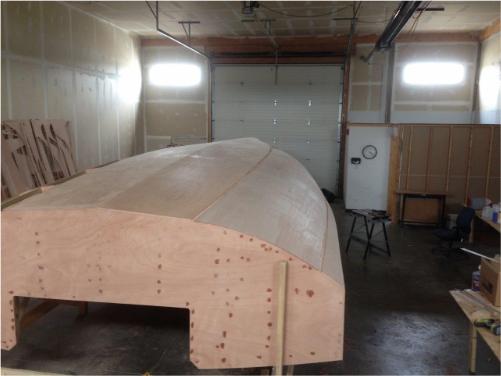
Same stage. You can see that the surface is recessed below the side and bottom panels. The second layer will finish flush.
|
|
|
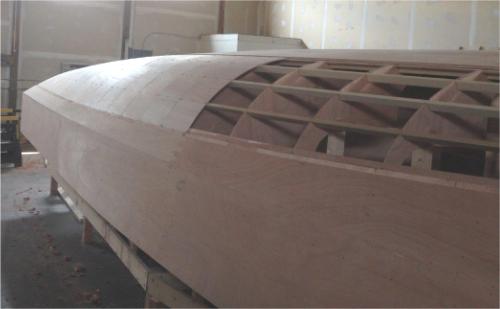
Same stage. The rebate along the edge of the side panel is visible.
|
|
|
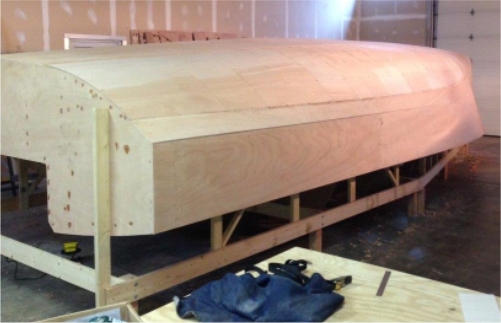
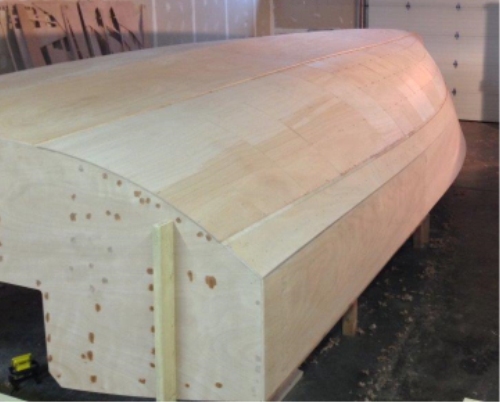
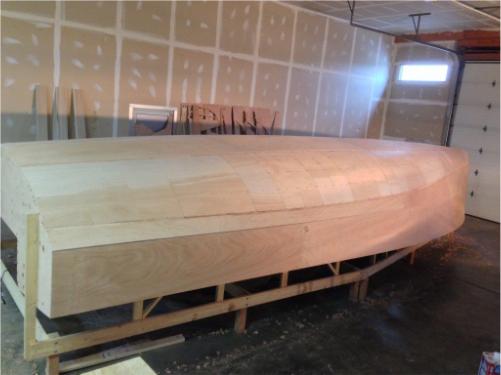
First layer of radius completed.
|
|
|
Same stage.
|
|
|
Same stage.
|
Back to Didi 950 Notes
Back to Didi 950
|
Back to Didi 950 Notes
Back to Didi 950
|