|
|
|
|
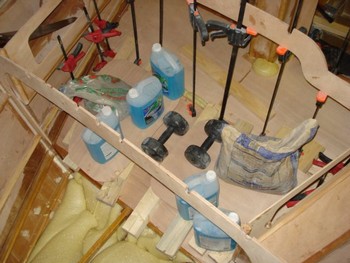
Foam flotation being poured in bow compartment.
|
|
|
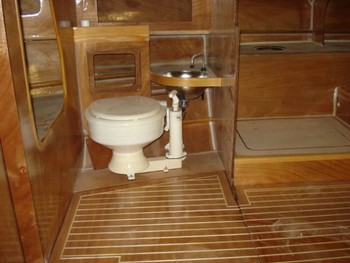
Interior, customised by the builder to suit his needs.
|
|
|
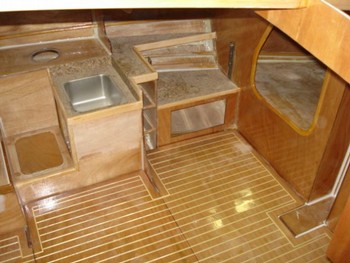
Ditto.
|
|
|
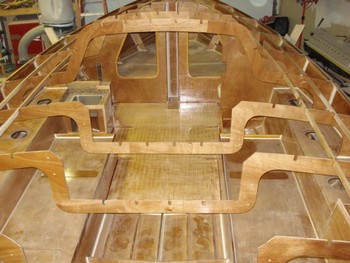
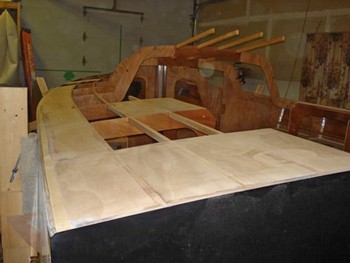
Interior completed before fitting deck.
|
|
|
Deck doublers fitted between deck stringers at hardware locations before fitting deck.
|
|
|
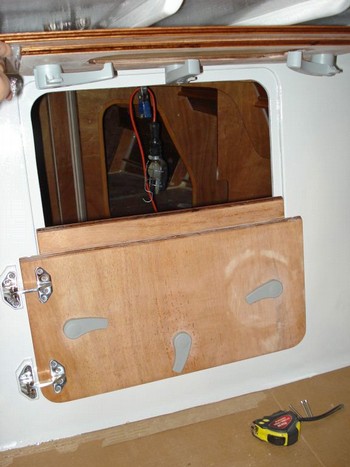
Companion hatch being installed.
|
|
|
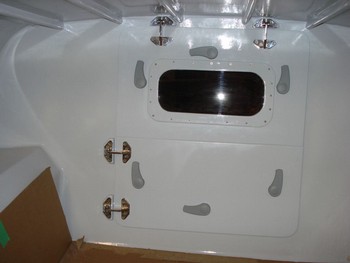
Completed companion hatch.
|
|
|
Deck completed. This builder rounded off the corners between the cabin sides and roof.
|
|
|
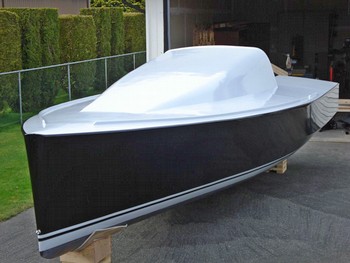
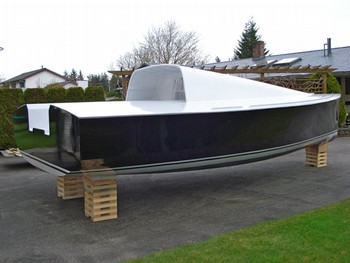
Deck completed.
|
Back to Didi Mini Mk3 Notes
|
Back to Didi Mini Mk3 Notes
|