|
|
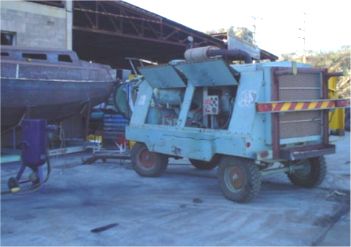
Setting up the blasting equipment in the early morning. At left is the pot into which the blasting material (sand, grit or slag) will be poured. At right is the compressor that will provide the pressure to blow the blasting material through a heavy reinforced rubber hose and metal nozzle onto the steel surface.
|
|
|
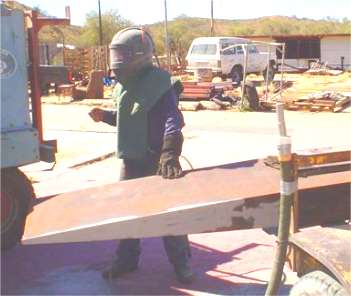
Meet the fashionably dressed blaster. All the heavy clothing and shielding is required to protect skin, eyes and lungs of the operator from abrasion from the blasting material bouncing off the surface and the corrosive and choking dust generated by the whole blasting operation. This is a dangerous job and not to be taken lightly.
In the foreground the rubber hose and metal nozzle can be seen. The bottom of the keel has been partially blasted, with the cleaned metal showing clearly from that which has not yet been blasted.
|
|
|
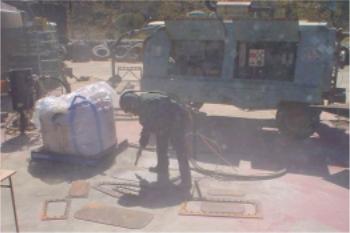
Blasting smaller components on a concrete slab.
|
|
|
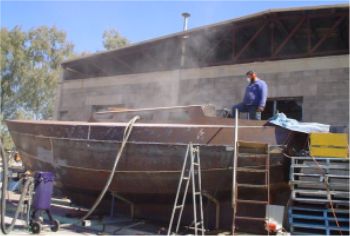
The interior of the boat is being blasted in this photo. The dust cloud above the boat is what has escaped through deck openings, so you can imagine the state of the air inside the boat.
Don't try this without proper breathing apparatus.
|
|
|
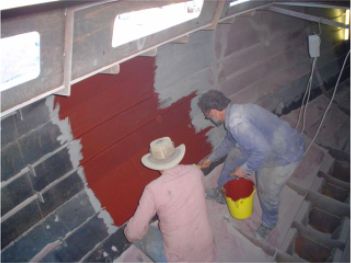
The first coat of paint starts to go on. The blasted area contrasts clearly with the unblasted area.
The paint must be worked into the crevices between skin plating and stringers, frames etc to seal these areas and ensure that corrosion cannot start there.
The area to be painted must be dust-free before painting starts. Dust in the air must be allowed to settle and dust and grit on the surface must be removed. The inside of the hull resembles a beach after blasting and removing the beach will be laborious if it is manhandled up onto the deck then down to the ground. An easier way is to cut a temporary hole through the keel side or hull bottom plate then spade the sand through the hole.
|
|
|
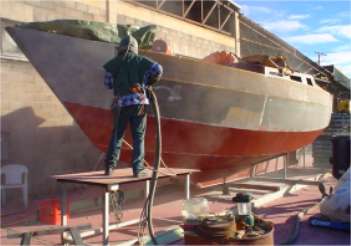
Lower panels of hull and upper keel blasted and primed, upper hull panels being blasted.
|
|
|
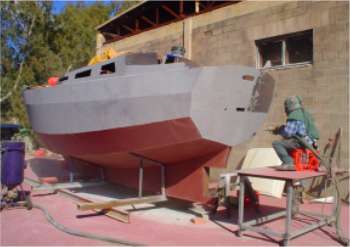
Hull blasting almost complete.
|
|
|
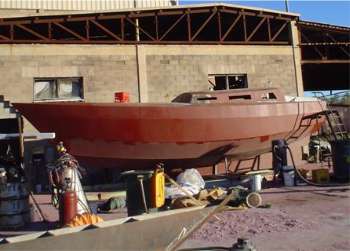
Hull priming complete, deck in progress.
|